Introduction:
Unveiling the beauty within your diamond painting canvas can be hindered by the unfortunate presence of creases. These unwanted wrinkles can mar your masterpiece, stealing away its pristine allure. But fret not, for this comprehensive guide will equip you with the knowledge and techniques to banish creases and restore your canvas to its pristine glory.
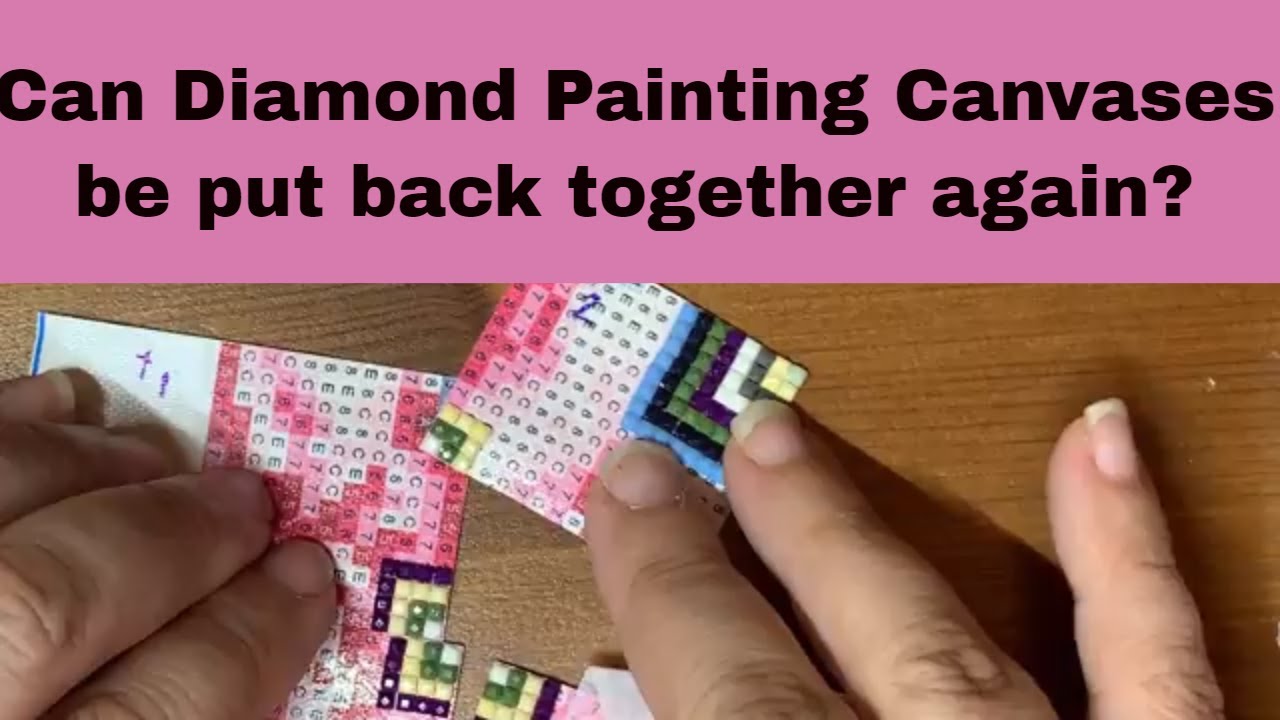
Image: www.youtube.com
Understanding Creases and Their Formation:
Creases are essentially folds or indentations in the canvas fabric caused by improper handling or storage. They can arise from rolling or folding the canvas too tightly, mishandling it during transportation, or even storing it under pressure for prolonged periods. These creases not only detract from the aesthetic appeal of your art but can also interfere with the adhesive properties of the canvas, potentially compromising the integrity and longevity of your diamond painting.
Method 1: Embracing the Power of Heat:
One effective method for removing creases from your diamond painting canvas is to utilize the power of heat. By carefully applying warmth to the affected areas, you can relax the fabric fibers and encourage them to return to their original shape.
Using an Iron:
- Place the canvas on a flat, heat-resistant surface, ensuring the creased area is facing upward.
- Cover the canvas with a thin, dry cloth or parchment paper to protect it from direct heat.
- Set your iron to a low to medium heat setting, avoiding high temperatures that could damage the canvas.
- Gently press the iron over the cloth or parchment paper, moving it in a circular motion to evenly distribute the heat. Avoid applying excessive pressure, as this could further damage the canvas.
- Allow the canvas to cool completely before continuing.
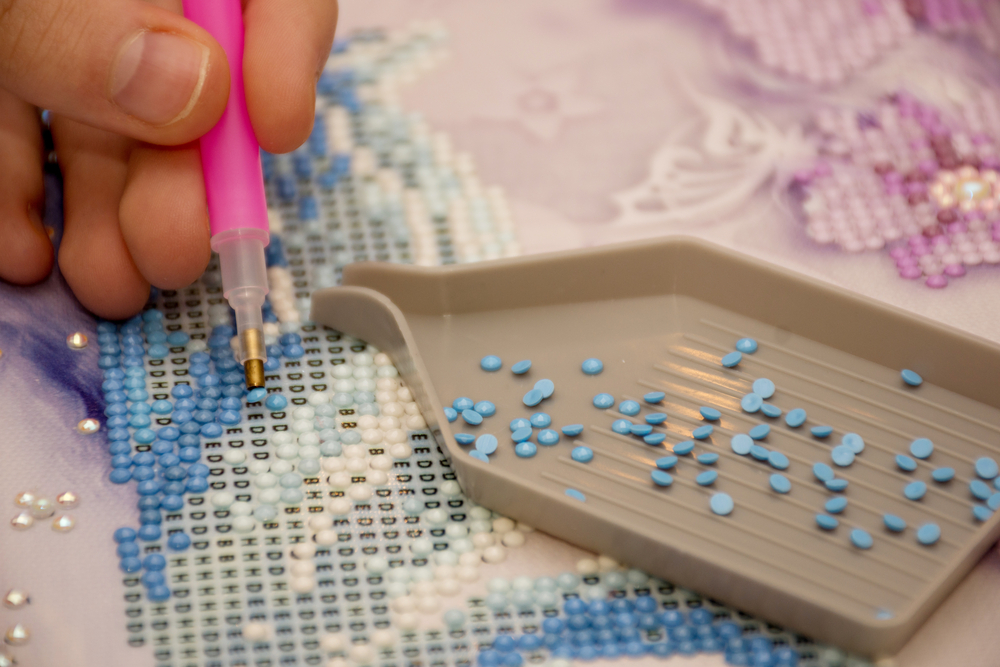
Image: congorsatu.vercel.app
Using a Hairdryer:
- Hold the hairdryer at a safe distance from the canvas, approximately 5-6 inches away.
- Direct the warm air towards the creased area, using a back-and-forth motion to evenly distribute the heat.
- Avoid holding the hairdryer too close to the canvas, as this could overheat and damage it.
- Once the creased area is sufficiently warmed, gently smooth it out with your fingers or a soft brush.
Method 2: Harnessing the Moisture of a Steamer:
Another effective approach to removing creases is to utilize the gentle power of steam. The moisture released by a steamer can penetrate the fabric fibers, relaxing them and allowing them to return to their original shape.
- Fill a garment steamer with distilled water and let it heat up according to the manufacturer’s instructions.
- Hold the steamer nozzle a few inches away from the creased area of the canvas.
- Gently move the steamer back and forth over the crease, avoiding prolonged exposure to any one area.
- The steam will help moisten the fabric fibers, making them more pliable.
- Once the creased area is evenly steamed, gently smooth it out with your fingers or a soft brush.
Method 3: The Gentle Embrace of a Canvas Stretcher:
For larger canvases or creases that are particularly stubborn, employing a canvas stretcher can provide a more effective solution. This method involves stretching the canvas over a frame, applying tension to the fabric and helping to remove creases.
- Choose a canvas stretcher that is slightly larger than your canvas to ensure a taut fit.
- Staple or tack the canvas onto the stretcher, starting from the center and working your way outwards.
- Adjust the tension of the canvas by tightening the staples or tacks, ensuring it is evenly stretched but not overly taut.
- Leave the canvas on the stretcher for a few hours or overnight to allow the fabric to relax and the creases to diminish.
Method 4: The Time-Honored Technique of Blocking:
Blocking is a traditional technique employed by artists to remove creases and distortions from textiles. It involves submerging the canvas in water and allowing it to dry while pinned to a flat surface.
- Fill a bathtub or large container with lukewarm water.
- Submerge the canvas in the water and gently agitate it to release any air bubbles.
- Allow the canvas to soak for about 10-15 minutes, or until it is thoroughly saturated.
- Remove the canvas from the water and gently squeeze out any excess water.
- Spread the canvas out on a clean, flat surface and gently smooth it out with your hands.
- Pin the edges of the canvas to the surface using rust-proof pins, ensuring it is taut but not excessively stretched.
- Allow the canvas to dry completely, either in a well-ventilated room or outdoors in the shade.
Preventing Creases: A Proactive Approach:
Preventing creases from forming on your diamond painting canvas is essential for maintaining its pristine condition. Here are some proactive measures you can take:
- Store your canvas rolled, rather than folded, in a cool and dry place.
- Use a sturdy storage tube to protect the canvas from external pressure.
- Avoid rolling the canvas too tightly, as this can put undue stress on the fabric.
- When transporting your canvas, use a flat and rigid surface to prevent creasing or bending.
- Handle your canvas with care, avoiding rough handling or excessive manipulation.
How To Get Creases Out Of Diamond Painting Canvas
Conclusion:
Removing creases from your diamond painting canvas requires a careful and thoughtful approach. By embracing the techniques outlined in this guide, you can effectively restore the pristine beauty of your masterpiece. Remember, patience and precision are key in achieving a crease-free canvas. With these methods at your disposal, you can confidently tackle any creases that may arise, ensuring that your diamond painting canvas showcases your artistic vision in its most captivating form.


