Are you ready to turn heads and embrace a timeless fashion trend? Bell bottom jeans, with their iconic flare, have captured the hearts of fashion enthusiasts for decades. Whether you’re a seasoned seamstress or a curious novice, crafting your own bell bottom jeans is a rewarding and stylish adventure. Let’s dive into a detailed guide to empower you to create these iconic garments.

Image: br.pinterest.com
Unveiling the Bell Bottom: A Historical Silhouette
Bell bottom jeans, characterized by their dramatically flared legs from the knee down, emerged in the 1960s. Inspired by the carefree spirit of the era, these jeans became a symbol of rebellion and liberation. Over the years, they’ve evolved from counterculture fashion to mainstream wardrobes, becoming a staple in the denim landscape.
The Art of Customization: Creating the Perfect Fit
The beauty of making your own bell bottom jeans lies in the ability to customize them to your unique body and style. Start by measuring your waist and length, and selecting a pair of jeans that fit well and provide ample fabric for flaring.
Step 1: The Unraveling: Preparing the Canvas
With your jeans in hand, it’s time to begin the transformation. Flip them inside out and carefully unpick the inseam from the knee to the hem. Be patient and take your time to prevent any snags.
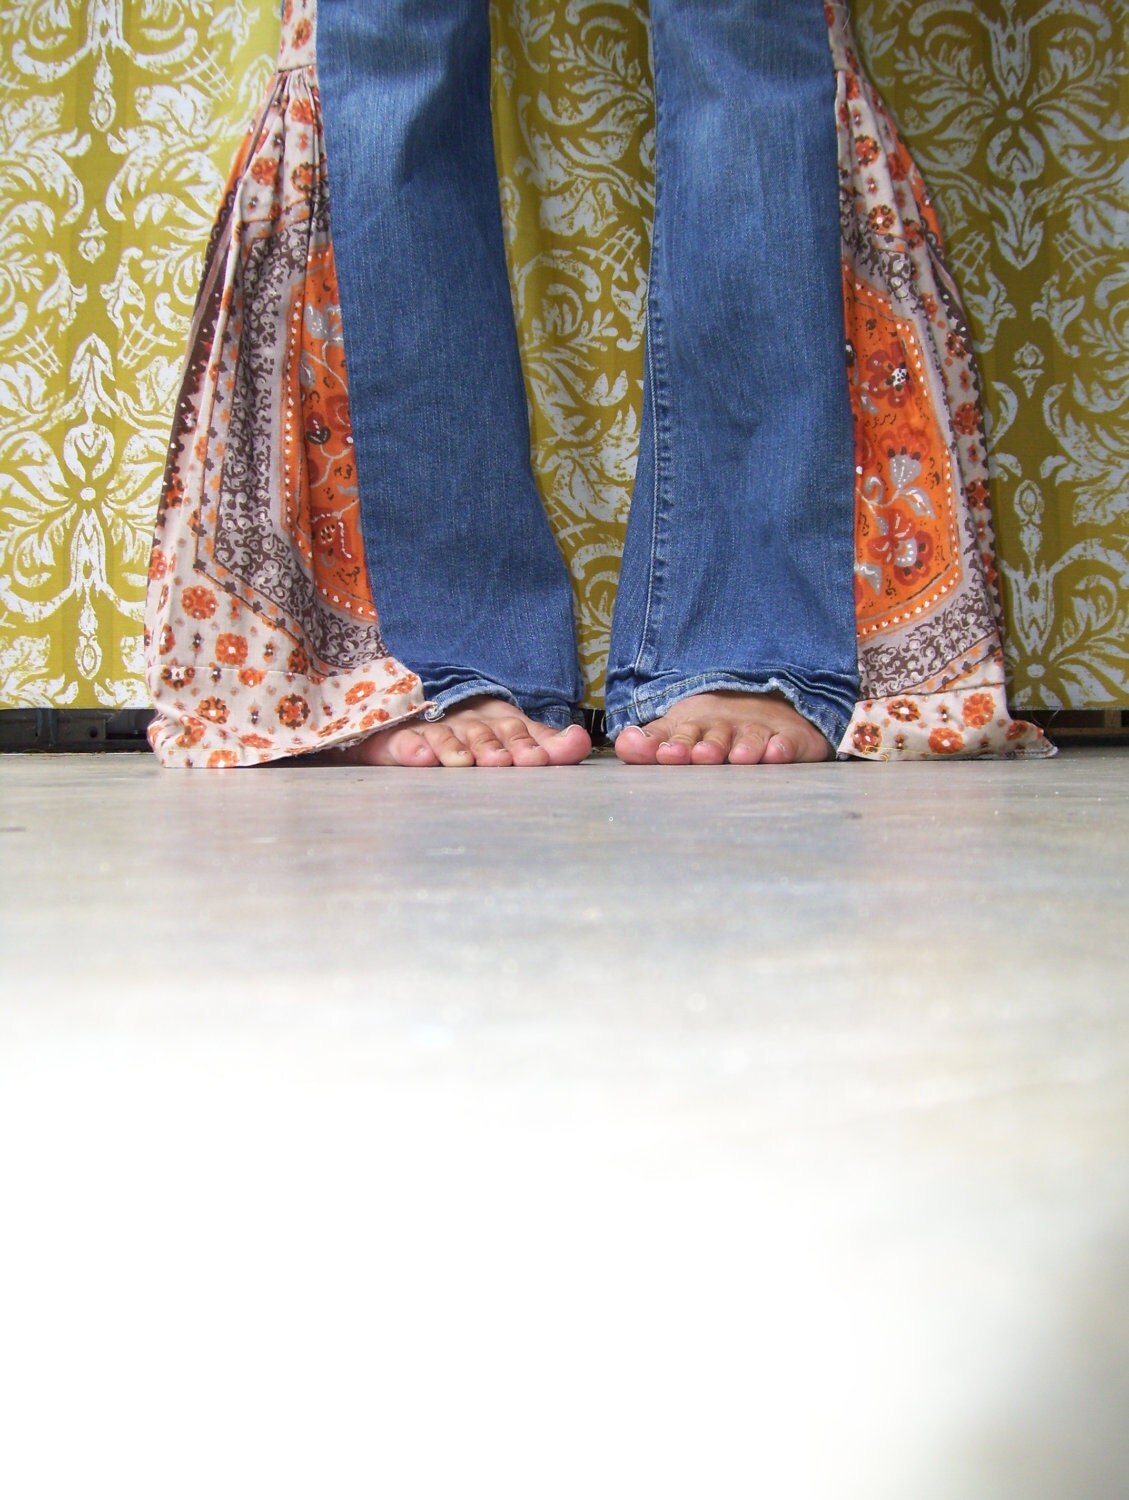
Image: www.etsy.com
Step 2: Laying the Foundation: Creating the Flare
Take a second pair of jeans, or use a piece of fabric that matches the width you desire for your bell bottoms, and measure the hemline. Cut a triangle from this fabric, with the base equal to your desired flare width and the height extending beyond the jeans’ hem.
Step 3: Merging the Pieces: Seamless Expansion
Place the triangle fabric over the jeans’ hem, aligning the base edge with the end of the inseam you unpicked. Pin it securely and sew around the edge, using a wide zigzag stitch for strength and flexibility.
Step 4: Defining the Silhouette: Shaping the Flare
Flip the jeans right side out and put them on. Mark the desired flare width at the hemline and angle it upwards towards the knee. This will create the characteristic bell shape.
Step 5: Finishing Touches: Refinement and Customization
Trim away any excess fabric beyond your marked lines and topstitch around the flare for a polished finish. Add additional details, such as patches, studs, or embroidery, to personalize your creation.
Embracing the Trend: Style and Confidence
Pair your newly crafted bell bottom jeans with a statement top and heels for a glamorous, retro look. They’re effortlessly chic when worn with a simple T-shirt and sneakers for a casual yet stylish vibe. Experiment with different flare widths and fabrics to achieve the perfect balance for your body and taste.
Expert Advice: Enhancing Your Craft
“When creating bell bottom jeans, pay meticulous attention to the fabric and its drape,” advises renowned fashion designer Maria Sciarrillo. “Choose lightweight, fluid fabrics that will flow beautifully with the flare.”
“Mastering the art of sewing a strong, zigzag stitch is essential,” adds seamstress extraordinaire Eliza Rodriguez. “This will ensure a secure and durable flare that won’t easily tear or fray.”
How To Make Bell Bottom Jeans
Conclusion: A Fashion Odyssey
Crafting your own bell bottom jeans is not just a project; it’s a creative journey that empowers you to express your individuality through fashion. By following this comprehensive guide, you’ll gain the confidence and skills necessary to design and wear these iconic garments. Embrace the flair, embrace your style, and embark on an adventure in denim that will leave an everlasting impression.


